Class Roster
Faculty members should review their OASIS class rosters for accuracy. ILearn rosters should not be used to verify enrollment.

From My Schedule under Faculty Center
Click on the Class Roster icon next to the desired course.
For help navigating to the Faculty Center, visit the Faculty Center help page.
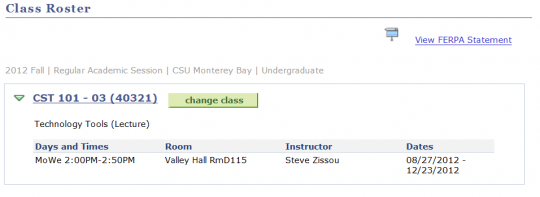


Class details
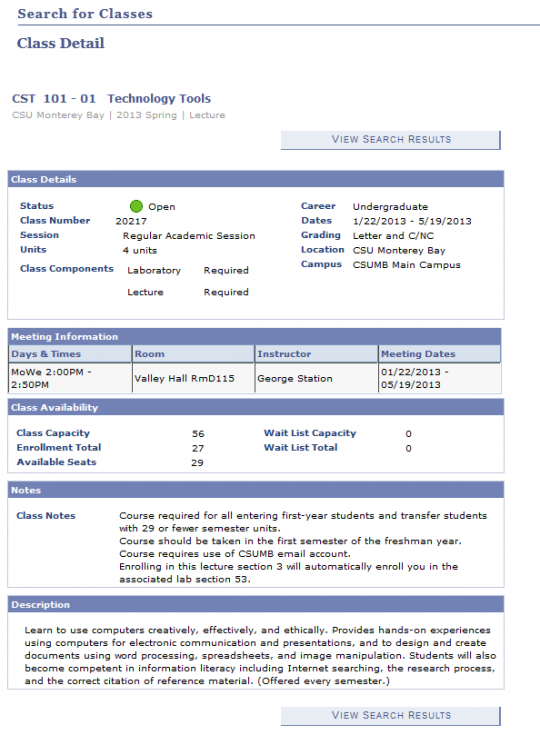
Change classes

To change classes click on the Change Class button. You will be taken back to your My Schedule page.
Enrollment Status

Enrollment status defaults to include all enrolled, dropped, and waiting students. You can select from the enrollment status drop down to change the class roster display. Individual student enrollment status is indicated in the status column. If the student is waitlisted in OASIS, additional status notes display to indicate their waitlist position.
Print class roster

1) To print a copy of the roster, click the Printer Friendly Version link at the bottom of the Class Roster page.
2) Select the File > Print option from the browser menu.
Download to Excel
1) On the Roster page Click the Download to Excel button to export the class roster into a file that can be read by spreadsheet applications like Excel.

2) A File Download dialog box will appear. This box will vary depending on which web browser you are using. Select Save and select a location to save the file.
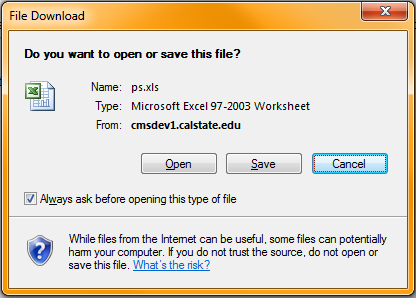
Note: If you do not get the File Download dialog box you will need to setup your browser to allow for pop-ups from OASIS. If you haven't yet setup your browser to allow pop-ups please visit the Faculty Browser Setup help page.
Notify selected students
1) Place a check next to individual students you wish to email
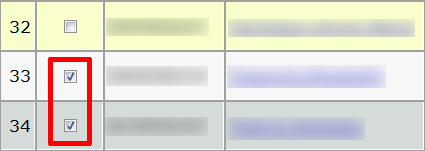
2) Click the Notify Selected Students Button

3) Type your message into the Message Text box.
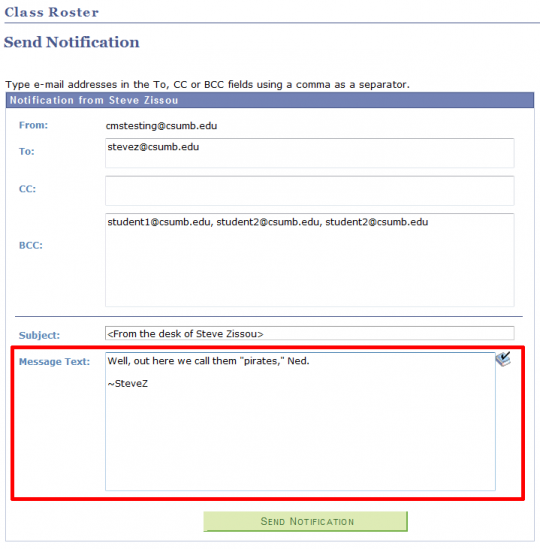
4) When ready click the Send Notification button.

Notify all students
1) Click the Notify All Students Button

2) Type your message into the Message Text box.
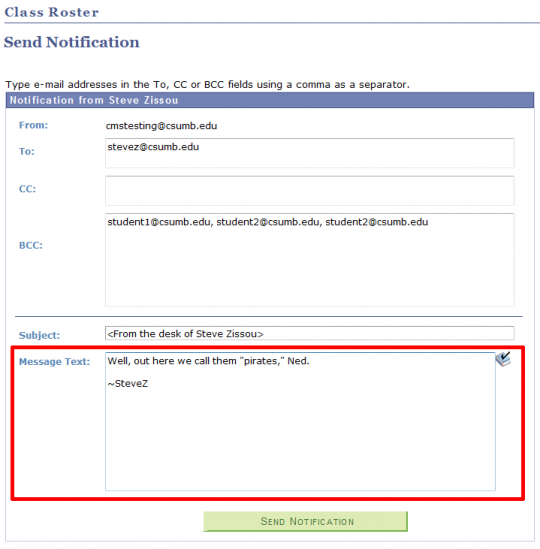
3) When ready to send click the Send Notification button.

FERPA

Review FERPA Information